Chapter 1 Installing R
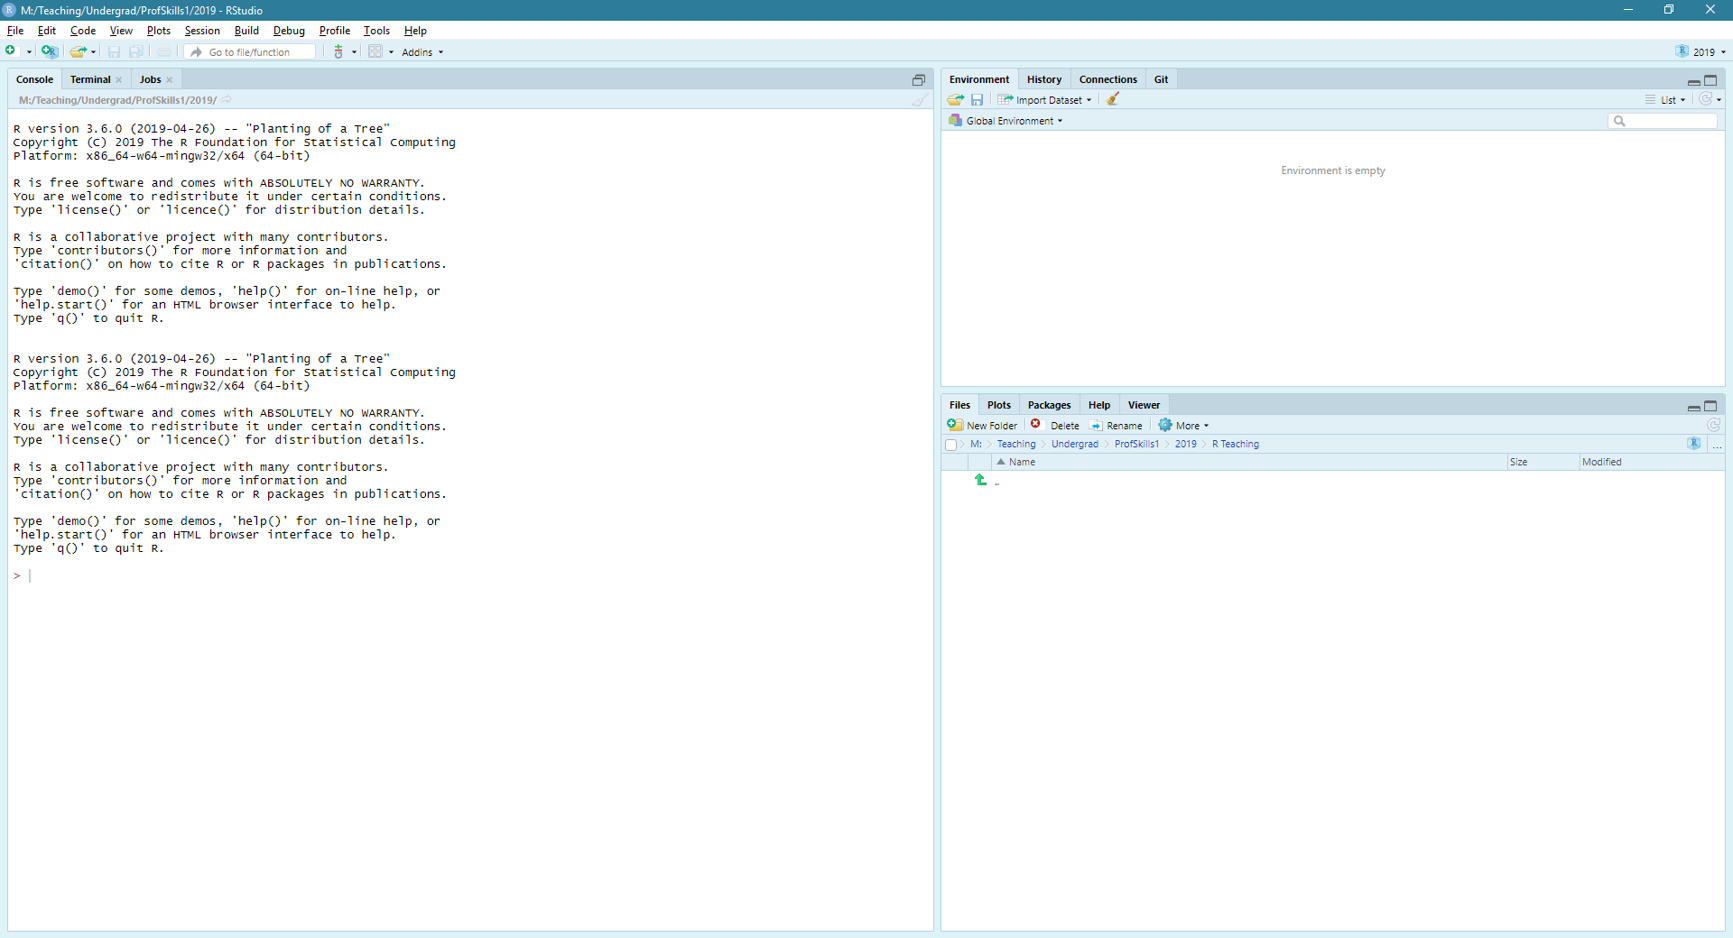
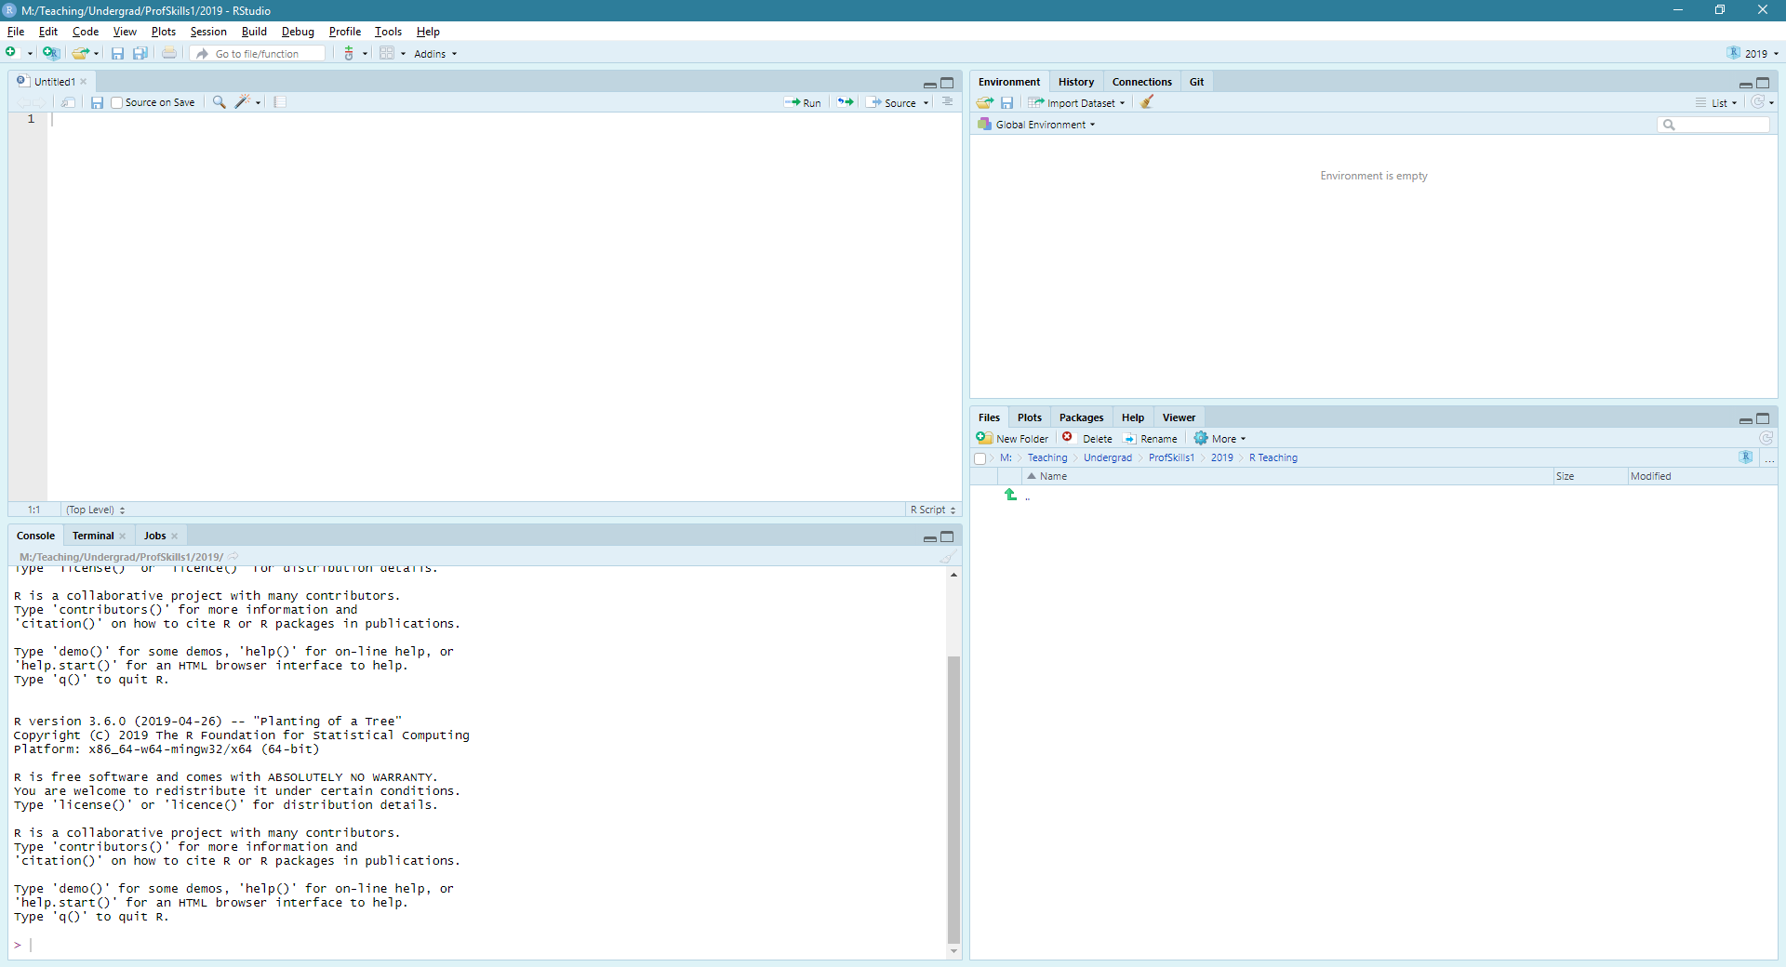
You can skip this chapter if you already have access to R and R Studio, and feel confident navigating between the console and environment panes.
To use R on your own PC or laptop, you will need to install two things:
- R (the programming language)
- R Studio (a software that makes R easier to run)
You can also access R Studio online which can be great if you have a good internet connection, or are on a computer that you don’t have admin rights to.
R Studio is an integrated development environment which makes it easier to use R. It is made by a company called Posit who create a lot of statistical coding related projects and have a really cool and supportive community.
Important: If you want to use R and R Studio on your own device you need to install both.
If you prefer watching instructions you can watch the installation videos below.
1.1 Install R
R is the programming language we will use. It is freely available, meaning you do not need to pay for R.
To install R, you will need to navigate to (or click the link to) the Comprehensive R Archive Network - cran.
While there, you want to download R for your operating system (most likely Windows or Mac). Click the link that names your operating system and look for the instructions that say install R for the first time.
There will be a link that says something like Download R 4.3.1 for Windows. (The exact version number is not really important yet).
After you have installed R, you can check to see if it works, or go straight to installing R Studio
1.2 Install R Studio
R Studio is a tool that helps make R more user friendly. It also lets you collect all your data files into ‘projects’. This is very useful for managing your projects and ‘workflows’ (more on that here).
To download R Studio follow this link.
You want the R Studio Desktop Free version. You will not need to pay for anything to use R as part of your studies at R(D)SVS. When you click the download link above, you will find a button at the bottom of the page to download R Studio Desktop. After you click that button you will be able to choose the version that works for you. Follow the instructions on the page for your operating system.
1.2.1 Note for those using a managed PC
If you are using a university managed PC then the Software Centre will take care of this for you. All open access university PCs should have a version of R Studio already installed.
1.3 Using the Cloud
If you would like to use Posit Cloud (formerly R Studio Cloud), you will need to create an Posit account. This can be a whole new account, a google account, a Clever account, or a github account. I would recommend you get a github account (you can jump to read why here).
After you have logged in, you can access a workspace. A workspace is like an R Studio Project.
You should use the Cloud Free Plan. Again, we do not expect you to buy anything to use R or R Studio.
You will have a maximum of 15 projects you can use, and less storage space than using your own device.
1.4 Install R and R Studio - Video Instruction
If you prefer to get your resources in video format, there’s an explanation of installing R and R Studio here and using R Studio Cloud here.
Please note, these videos are a bit older now so you should expect to see some minor differences, e.g. in version numbers.
